Alright so here is another one of my creations. This one takes a little more time and dedication.

I did not take a picture of all the things you will need but I will list all the things I used. However you don't have to use all the same things I did so I will list the basics first.
Okay so for the back board I used a thick poster board I purchased at Hobby Lobby. Now looking back on it, I'd recommend using a thin sheet of wood.
I used some pieces of wood for the frame.
You will also need batting but I used some from an old blanket..
A glue gun will also be necessary, along with scissors.
A drill and some screws.
I used a canvas drop cloth for the material to cover the board. (You can purchase this at your local Wal-mart).
Now for the optional items, aka my finishing touches. . I purchased all of these at Hobby Lobby(minus the letter 'C'); the lace, the large letter 'C'(I got it a Michaels but I'm sure they have one just like it at Hobby Lobby) , keys, and the 2 flowers in the corner.

I laid this out to get an idea of what it would look like, the only thing i did not include was the poster i used as my back board. sorry :(

Alright so first i laid down 3 sheets of batting that i cut about 2 inches from the border of the back board, glued them down and then covered the board with the canvas drop cloth. I then glued on my lace. . (I'm sorry i did not think to take pictures of this process)

This is what the back looked like. .

Now if you were a little confused by my explanation of how to cover the back board then hopefully this will clear it up a little.. okay so for the pieces of wood I covered them the same way, with several pieces of batting.

Glued it to the back of the wood,

then I covered it with the piece of canvas.

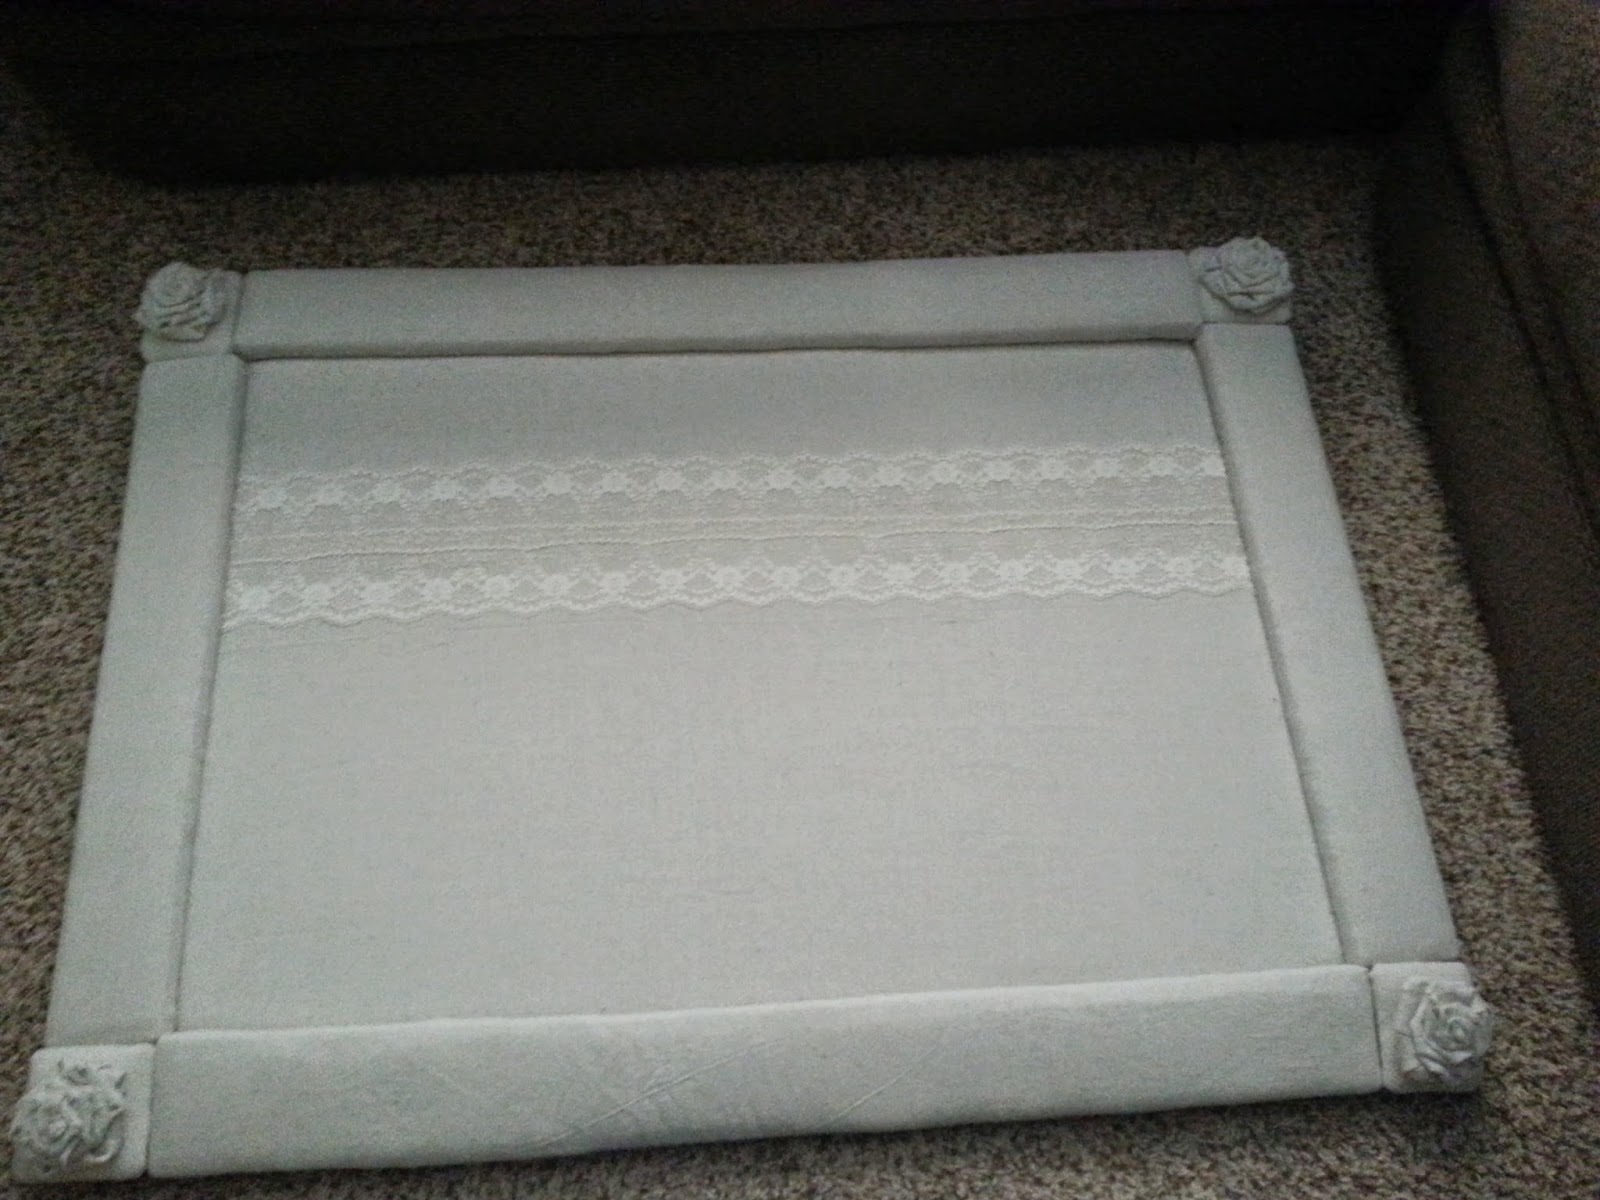
This is the finished product.

The back looks like this.

Now for the corners. . I used part of the poster board and cut squares.

Then covered it with batting,

(I had to use several squares of batting to make it even with the wood.)

getting smaller as I went up.

Here are my 4 corners,

then I covered the batting with the canvas drop cloth.

I then had to add a couple more squares on the bottom to make it level with the wood I used for the border.

Now I have my 4 corners,

set them in place,

then I arranged the border along the back board. I had to have my husband's help in drilling these pieces of wood to the poster board.

Drill all the sides down, then the 4 corners.

Now to add a little 'pretty' to it I made flowers out of my remaining canvas material,
placed my flowers on each corner, I hot glued them down but you can use whatever method you think would work best. .

Next I added my finishing touches, the letter 'C' for my last name, a couple flowers and keys and viola! :)
Thanks for visiting, hope you can create your own, let me know how it goes. Also if you have any questions about further explanation or comments/advise, etc., please leave them below! :) Thanks again, see you next time!

Awesome! Can I have one with the letter "L" on it please?
ReplyDelete